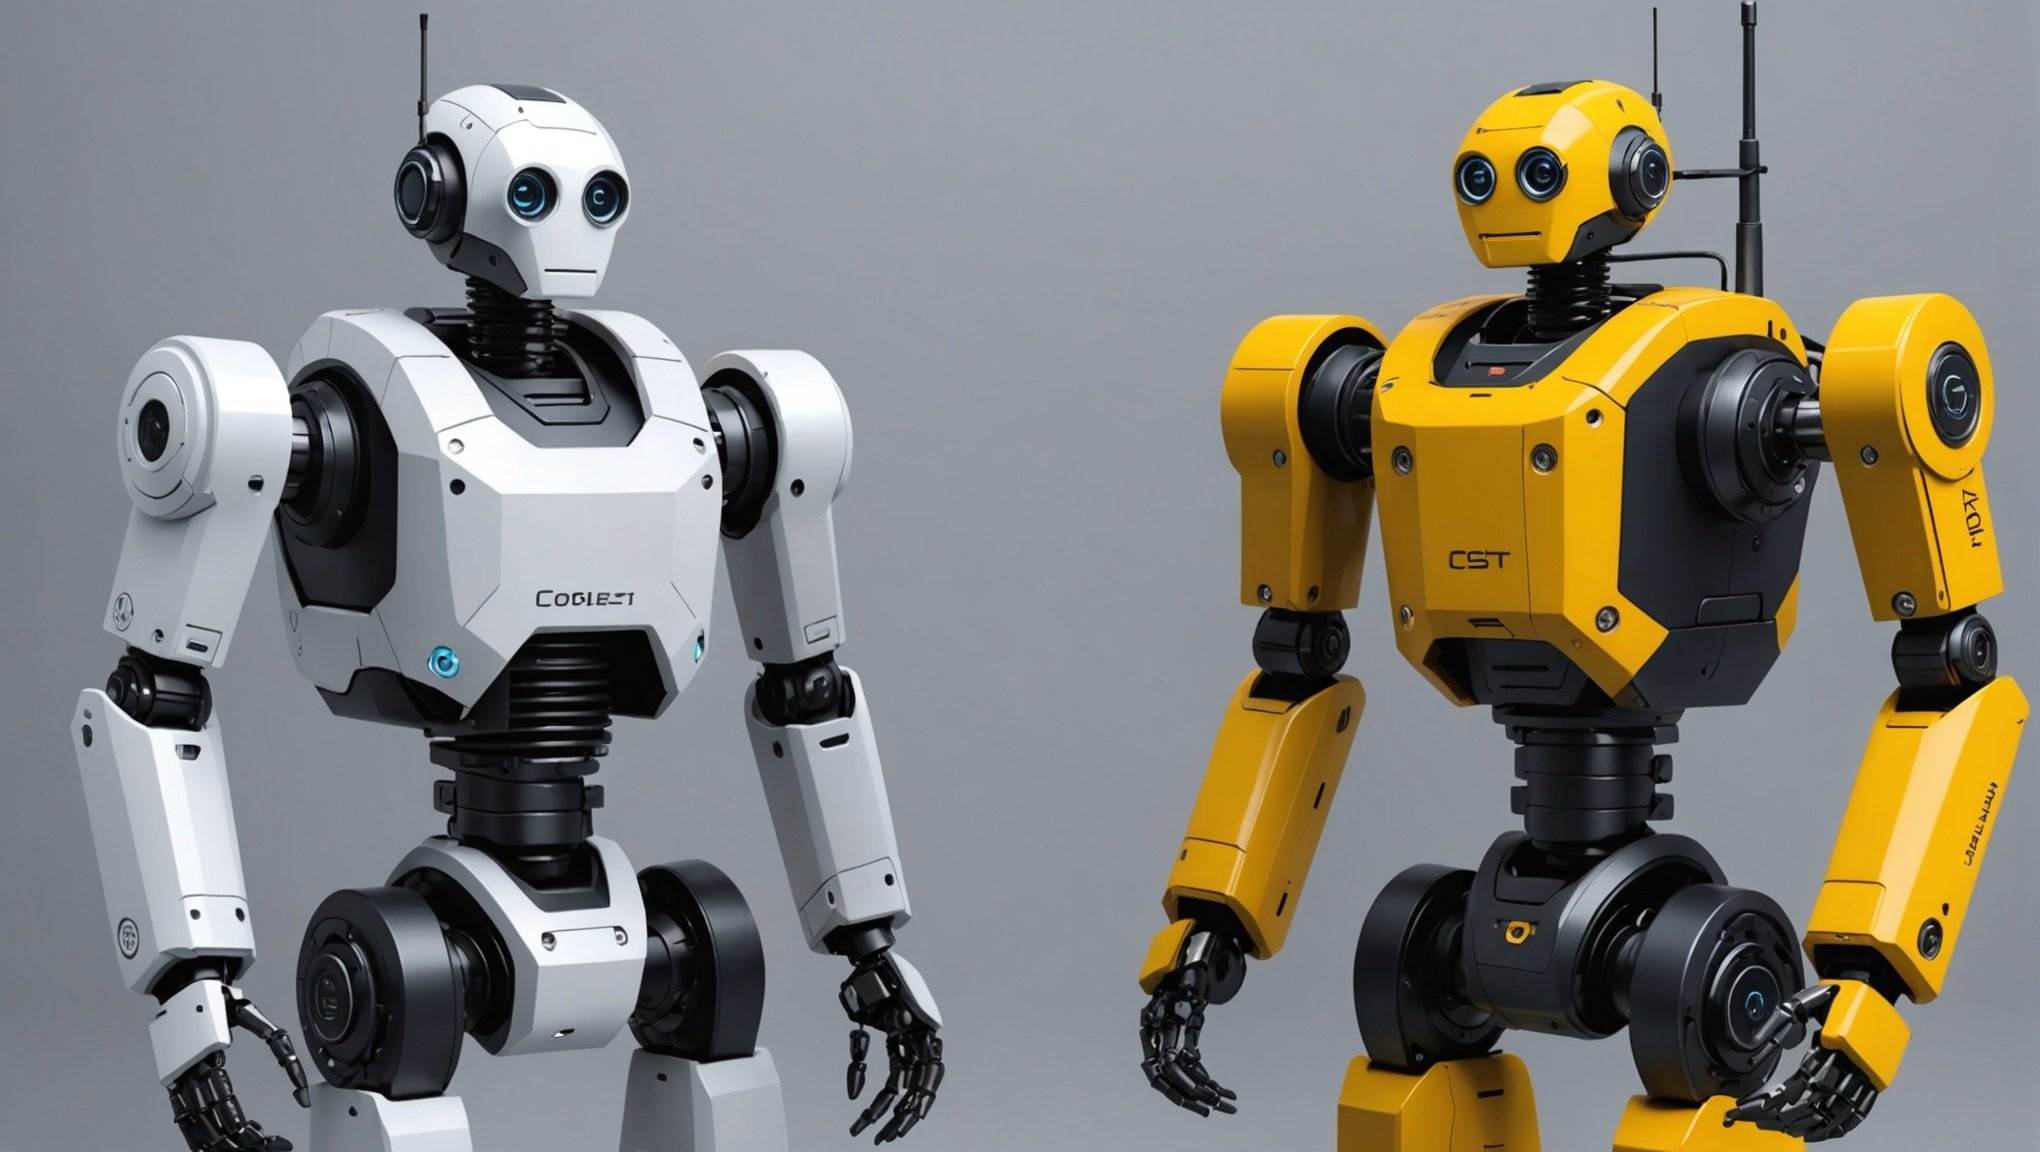
In today’s tech-savvy world, turning your smartphone into a powerful tool for programming and controlling robots is not only feasible but also remarkably straightforward. Whether you are a hobbyist, an educator, or an enthusiast, leveraging your smartphone for robotics projects opens up a realm of possibilities. This article will guide you step-by-step through the process of using your smartphone to command and program robots, utilizing components like Bluetooth modules, motor drivers, and programming apps like App Inventor.
Getting Started with Bluetooth Modules
To effectively control robots using your smartphone, the first step is to establish a wireless communication channel. This is where Bluetooth modules come into play. These small, versatile devices allow your smartphone to send and receive commands from your robot.
Also to discover : What Are the Steps to Create a Virtual Art Gallery Using Your Smartphone?
Bluetooth modules like the HC-05 and HC-06 are popular choices due to their ease of use and reliability. They connect to your robot’s microcontroller, typically an Arduino, via serial communication. By sending serial println commands from your smartphone, you can control the actions of your robot.
When integrating a Bluetooth module with your robot, you must connect it to the appropriate pins on your microcontroller. The TX pin on the Bluetooth module should connect to the RX pin on the microcontroller, and the RX pin on the module should connect to the TX pin on the microcontroller. Once connected, ensure the module is powered and properly configured to pair with your smartphone.
Also to see : How to Use NFC Technology on Smartphones for Secure Payments?
Connecting and Configuring the Bluetooth Module
-
Wiring: Ensure the module’s pins are correctly connected to the microcontroller:
- VCC to 5V
- GND to GND
- TX to RX
- RX to TX
- Pairing: On your smartphone, go to Bluetooth settings, search for the module, and pair with it using the default password (usually "1234" or "0000").
- Configuration: Use an Arduino code to test the communication. The code should read inputs from the Bluetooth module and act accordingly, for instance:
#include <SoftwareSerial.h>

SoftwareSerial BTSerial(10, 11); // RX, TX

void setup() {
  Serial.begin(9600);
  BTSerial.begin(9600);
}

void loop() {
  if (BTSerial.available()) {
    char data = BTSerial.read();
    Serial.println(data);
  }
}
With these steps, your Bluetooth module is ready to relay commands from your smartphone to your robot.
Programming Your Robot with App Inventor
Once your Bluetooth module is set up, the next step is to create a user-friendly interface for sending commands. App Inventor, a visual programming environment developed by MIT, is an excellent tool for this purpose. It allows you to create Android applications without needing extensive coding skills.
Developing Your App
- Set Up App Inventor: Visit App Inventor’s website and create an account.
- Create a New Project: Start a new project and design the user interface. For controlling a robot, you might add buttons for movements such as forward, backward, turn left, and turn right.
- Configure Bluetooth Connectivity: Add a BluetoothClient component to your app. This component will handle the connection between your smartphone and the Bluetooth module.
- Programming: Use the visual blocks to program the functionality. For example, when a button is clicked, the app should send a specific command like "F" for forward to the Bluetooth module.
Here’s a basic example of how the blocks might look:
When ForwardButton.Click {
  BluetoothClient.SendText("F")
}
By using App Inventor, you can design an app that allows you to control every aspect of your robot’s movement and behavior with simple taps on your smartphone.
Driving and Controlling Your Robot
With your Bluetooth module and app set up, you can now focus on controlling the robot. Using the motor driver component, you can program your robot to perform various actions like moving forward, backward, and turning.
Motor drivers like the L298N or the more compact L293D are popular choices. These drivers can control the direction and speed of the motors based on the signals received from the microcontroller.
Coding for Movement
- Define the Pins: Assign pins on the microcontroller to control the motor driver. For example:
#define motorPin1 3
#define motorPin2 4
#define enablePin 5
- Set Up the Pins: In the setup function, configure the pins as output:
void setup() {
  pinMode(motorPin1, OUTPUT);
  pinMode(motorPin2, OUTPUT);
  pinMode(enablePin, OUTPUT);
}
- Control the Motors: In the loop function, based on the received Bluetooth commands, control the motors:
void loop() {
  if (BTSerial.available()) {
    char data = BTSerial.read();
    if (data == 'F') {
      digitalWrite(motorPin1, HIGH);
      digitalWrite(motorPin2, LOW);
      analogWrite(enablePin, 255); // Full speed
    } else if (data == 'B') {
      digitalWrite(motorPin1, LOW);
      digitalWrite(motorPin2, HIGH);
      analogWrite(enablePin, 255);
    } else if (data == 'S') {
      digitalWrite(motorPin1, LOW);
      digitalWrite(motorPin2, LOW);
      analogWrite(enablePin, 0); // Stop
    }
  }
}
By adjusting the code, you can define more complex movements and behaviors for your robot.
Enhancing the Robotics Experience with Community and Resources
As you dive deeper into robotics, engaging with the community project can provide valuable insights and inspiration. Platforms like Project Stempedia offer a wealth of resources and forums for discussing ideas, troubleshooting issues, and sharing your creations.
Leveraging Online Resources
- Forums and Discussion Boards: Join communities on Reddit, Stack Overflow, and specialized forums to ask questions and find answers.
- Educational Websites: Websites like Kosmos Verlags GmbH and Franckh Kosmos offer articles, tutorials, and books on robotics and related technologies.
- Community Projects: Participate in community projects to enhance your skills and contribute to the collective knowledge. These projects often provide step-by-step guides and code snippets that you can adapt for your robot.
Staying Updated with Latest Trends
- Follow Influential Blogs: Stay updated with blogs and YouTube channels dedicated to robotics and DIY projects.
- Attend Workshops and Webinars: Participate in online and offline events to learn from experts and network with fellow enthusiasts.
By engaging with these resources, you can continuously improve your robotics projects and stay updated with the latest trends and technologies.
Using your smartphone to program and control robots opens up a world of creative and educational possibilities. By integrating a Bluetooth module, utilizing App Inventor for app development, and leveraging components like motor drivers, you can transform your smartphone into a powerful control device for your robot. Engaging with community projects and staying updated with the latest trends will further enhance your robotics experience.
Remember, the journey of building and controlling robots is as exciting as the final outcome. Whether you are working on a simple project for fun or a complex one for educational purposes, the skills and knowledge you gain are invaluable. So, get started with your robot, and let your creativity and innovation drive you forward.
By carefully following the steps outlined in this article, you can successfully use your smartphone to program and control robots, turning your ideas into reality. Happy robot building!


